
There’s something so relaxing about listening to rain on a tent, when you are warm, snug and dry inside. But a leaky tent seam can quickly turn this tranquil experience into water torture when drops start falling on your head.
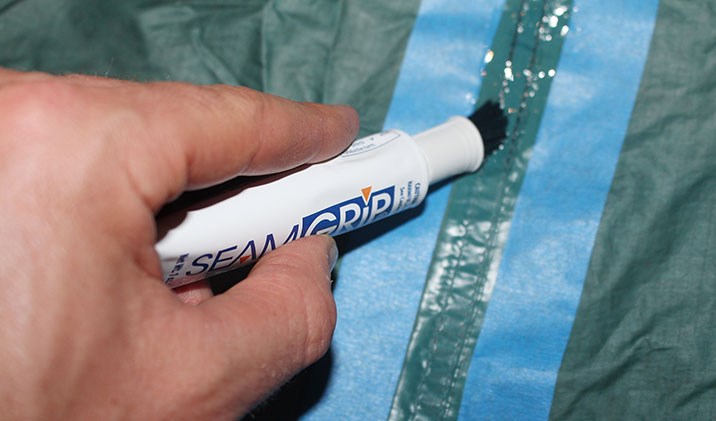
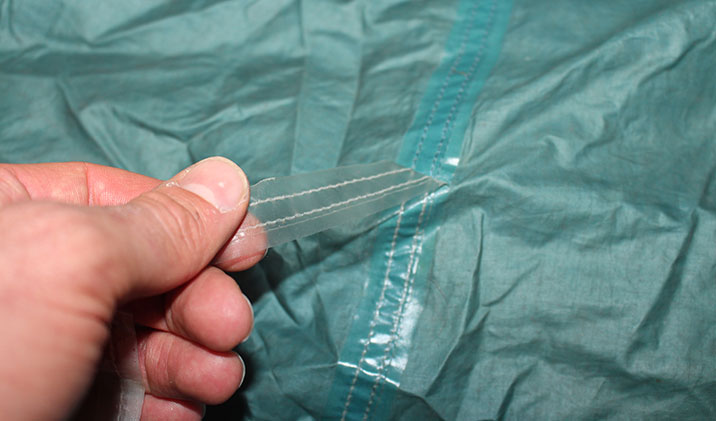
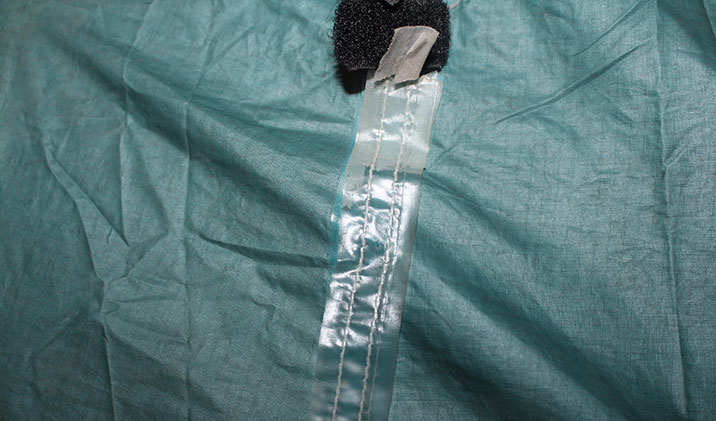
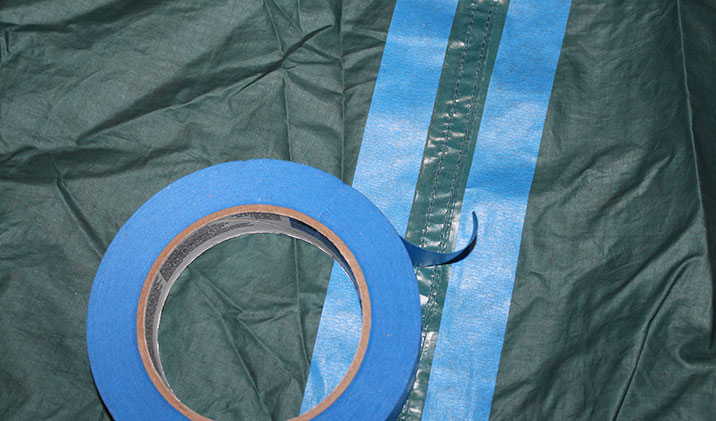
To seal tent seams, pick up some seam sealant from your local outdoors store. Turn the tent inside out and start by removing any old tape from the seam and use isopropyl alcohol to clean the seam. Line either side of the seam with masking tape (about 10mm from the stitching) to prevent sealant from spreading too far. Now, slowly and carefully apply a thin, even layer of sealant to the seam. Remove the masking tape after 30 minutes to prevent it getting stuck and then leave the tent to dry for another 24 hours.
TIP: a small amount of talcum powder applied to the seam once dry can stop it being tacky and sticking to other surfaces.


Repair Cost
Seam Grip: $19.95
Masking tape: $2-10 per roll